
Cinnamon Layer Cake with Buttercream Frosting
Celebrate Mardi Gras with this delicious cinnamon layer cake! My inspiration for the flavor in this cake comes from the traditional Mardi Gras king cake. Yellow boxed cake mixes are elevated with some simple ingredient swaps and spiced up with ground cinnamon to create three THICK cake layers. Each layer is covered in a traditional vanilla buttercream frosting with just a hint of almond extract. This recipe makes a LARGE Cake, perfect for sharing with family and friends at your Mardi Gras celebration. While I had Mardi Gras in mind when I developed this recipe, a cinnamon layer cake could be perfect for many occasions. Grab the recipe below!

INGREDIENTS
FOR THE CAKE
2 15.25 oz yellow boxed caked mixes
2 Cups of Milk
1 Cup of melted butter
6 eggs
1.5 tablespoons ground cinnamon
FOR THE FROSTING
3 Cups butter, softened
12 Cups confectioners sugar
2 tablespoons vanilla extract
1.5 teaspoons almond extract (optional)
3-4 tablespoons milk
Food coloring gels (optional)
INSTRUCTIONS
Preheat your oven to 350F for shiny metal cake pans or 325F for nonstick cake pans. Use baking spray (such as Baker’s Joy) to grease the bottom and sides of three 9” round cake pans. Line the bottom of each cake pan with parchment paper.
In a large bowl, combine yellow cake mixes, milk, melted butter, eggs, and ground cinnamon. Mix ingredients with a hand held mixer or with the paddle attachment of a stand mixer over medium speed for about 2 minutes. Pour cake batter evenly into pans. Bake cakes for 24-29 minutes or until a toothpick inserted into the center of the cake comes out clean. Allow cakes to cool for 10 minutes in the pan before turning them out onto a wire wrack to cool completely.
While your cakes are baking, prepare your frosting. In a large bowl, cream butter with a hand held mixer or the paddle attachment of a stand mixer. Slowly add in confectioners sugar and continue to mix until fully incorporated. Beat in vanilla and almond extracts.
Pour in milk and beat frosting for an additional 3-4 minutes until desired consistency is reached. Store icing in an airtight container until you are ready to frost your cake.
Before frosting your cake layers, use a serrated knife to remove the domes off the top of each cake layer. Reserve cake scraps for another use. Remove the parchment rounds off the bottom of each cake layer.
Place one layer down on a cake plate. Spread about 1 cup of the buttercream over the first layer. Place another layer on top and gently press. Spread about 1 cup of the buttercream over the second layer. Place the third layer on top and gently press.
Spread a thin layer of icing of over the sides and the top to create a crumb coat. Refrigerate your crumb coated cake for 15-20 minutes. Remove cake from the fridge and spread the remaining frosting evenly over the tops and sides of the cake.
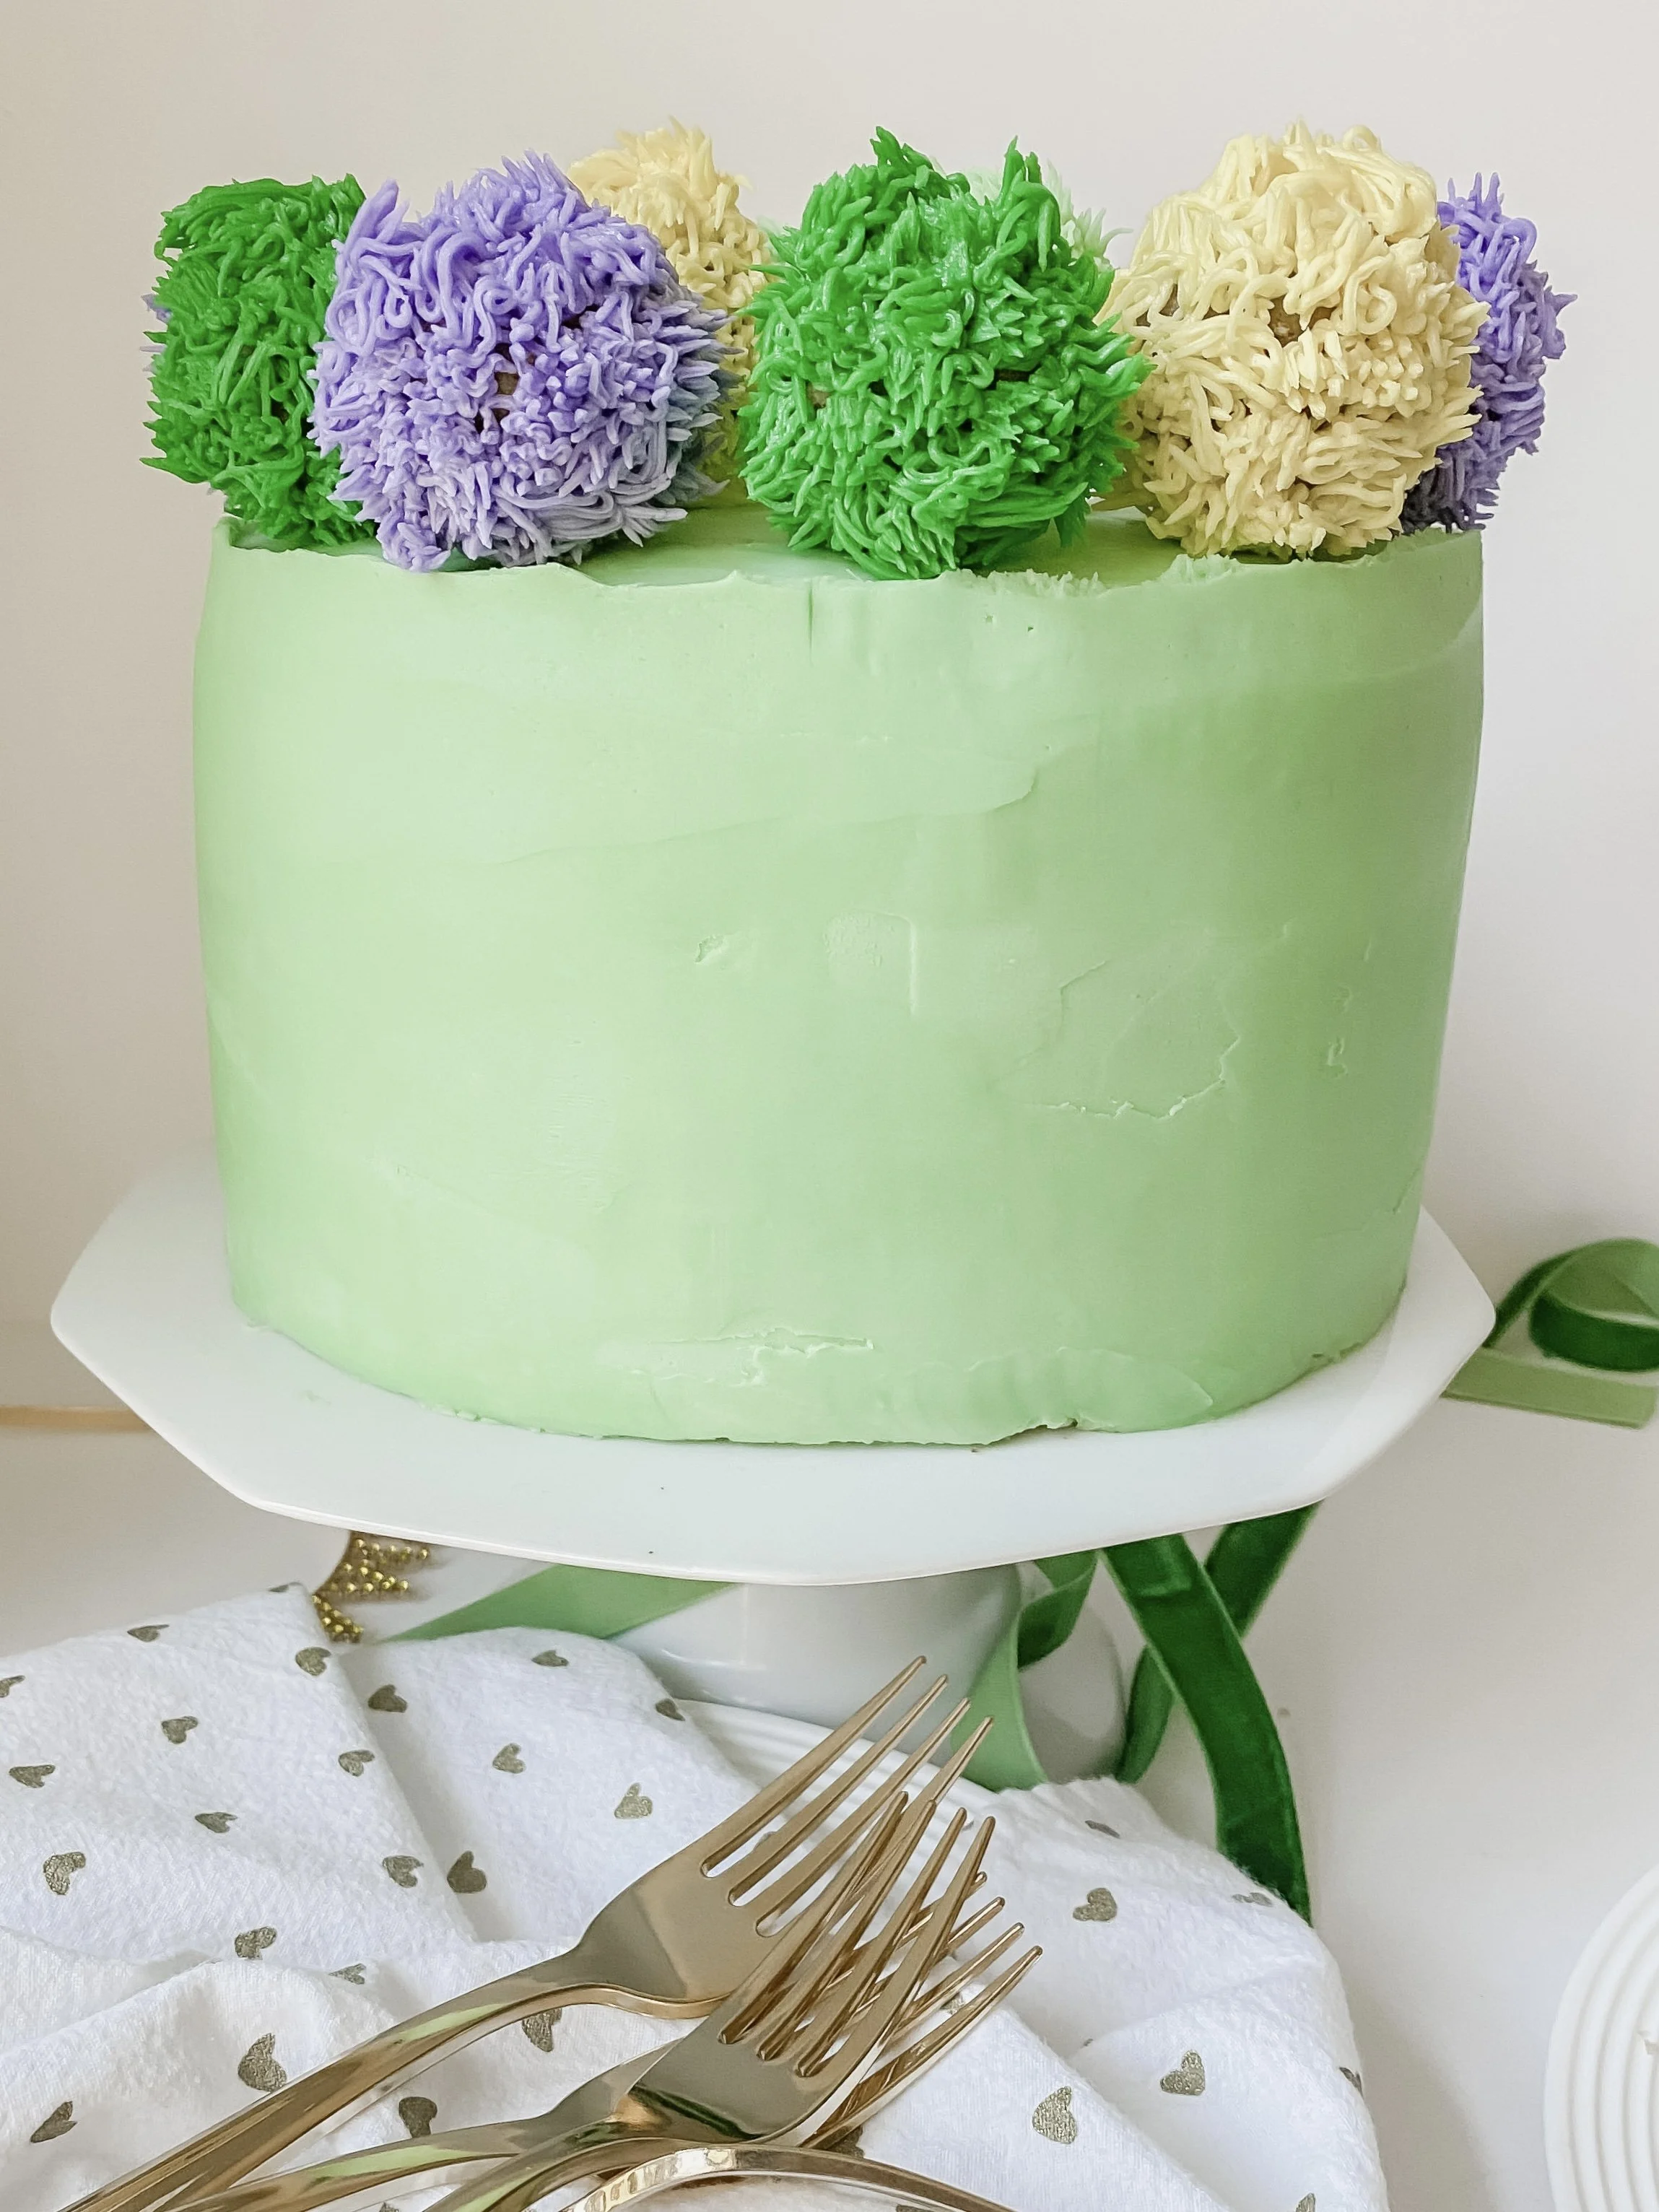
HOW TO MAKE POM POM CAKE TOPPERS
I decided to make this cake festive by adding colorful pom poms to the top of the cake. The pom poms are edible buttercream cake bites. Before you create the pom poms, you’ll need to make cake bites with your reserved cake scraps from trimming your cake layers.
INGREDIENTS
Reserved cake scraps from trimmed cake layers
Buttercream Frosting
INSTRUCTIONS
Crumble the reserved cake scraps saved from the trimmed domes off the top of the cake layers into a medium bowl. Add 2 tablespoons of buttercream frosting to the bowl of crumbled cake and mix well. If the mixture is still crumbly, add buttercream 1 tablespoon at a time until desired consistency is reached. Form a heaping tablespoon of the mixture into a ball with your hands. Chill cake bites for at least one hour or up to 24 hours.
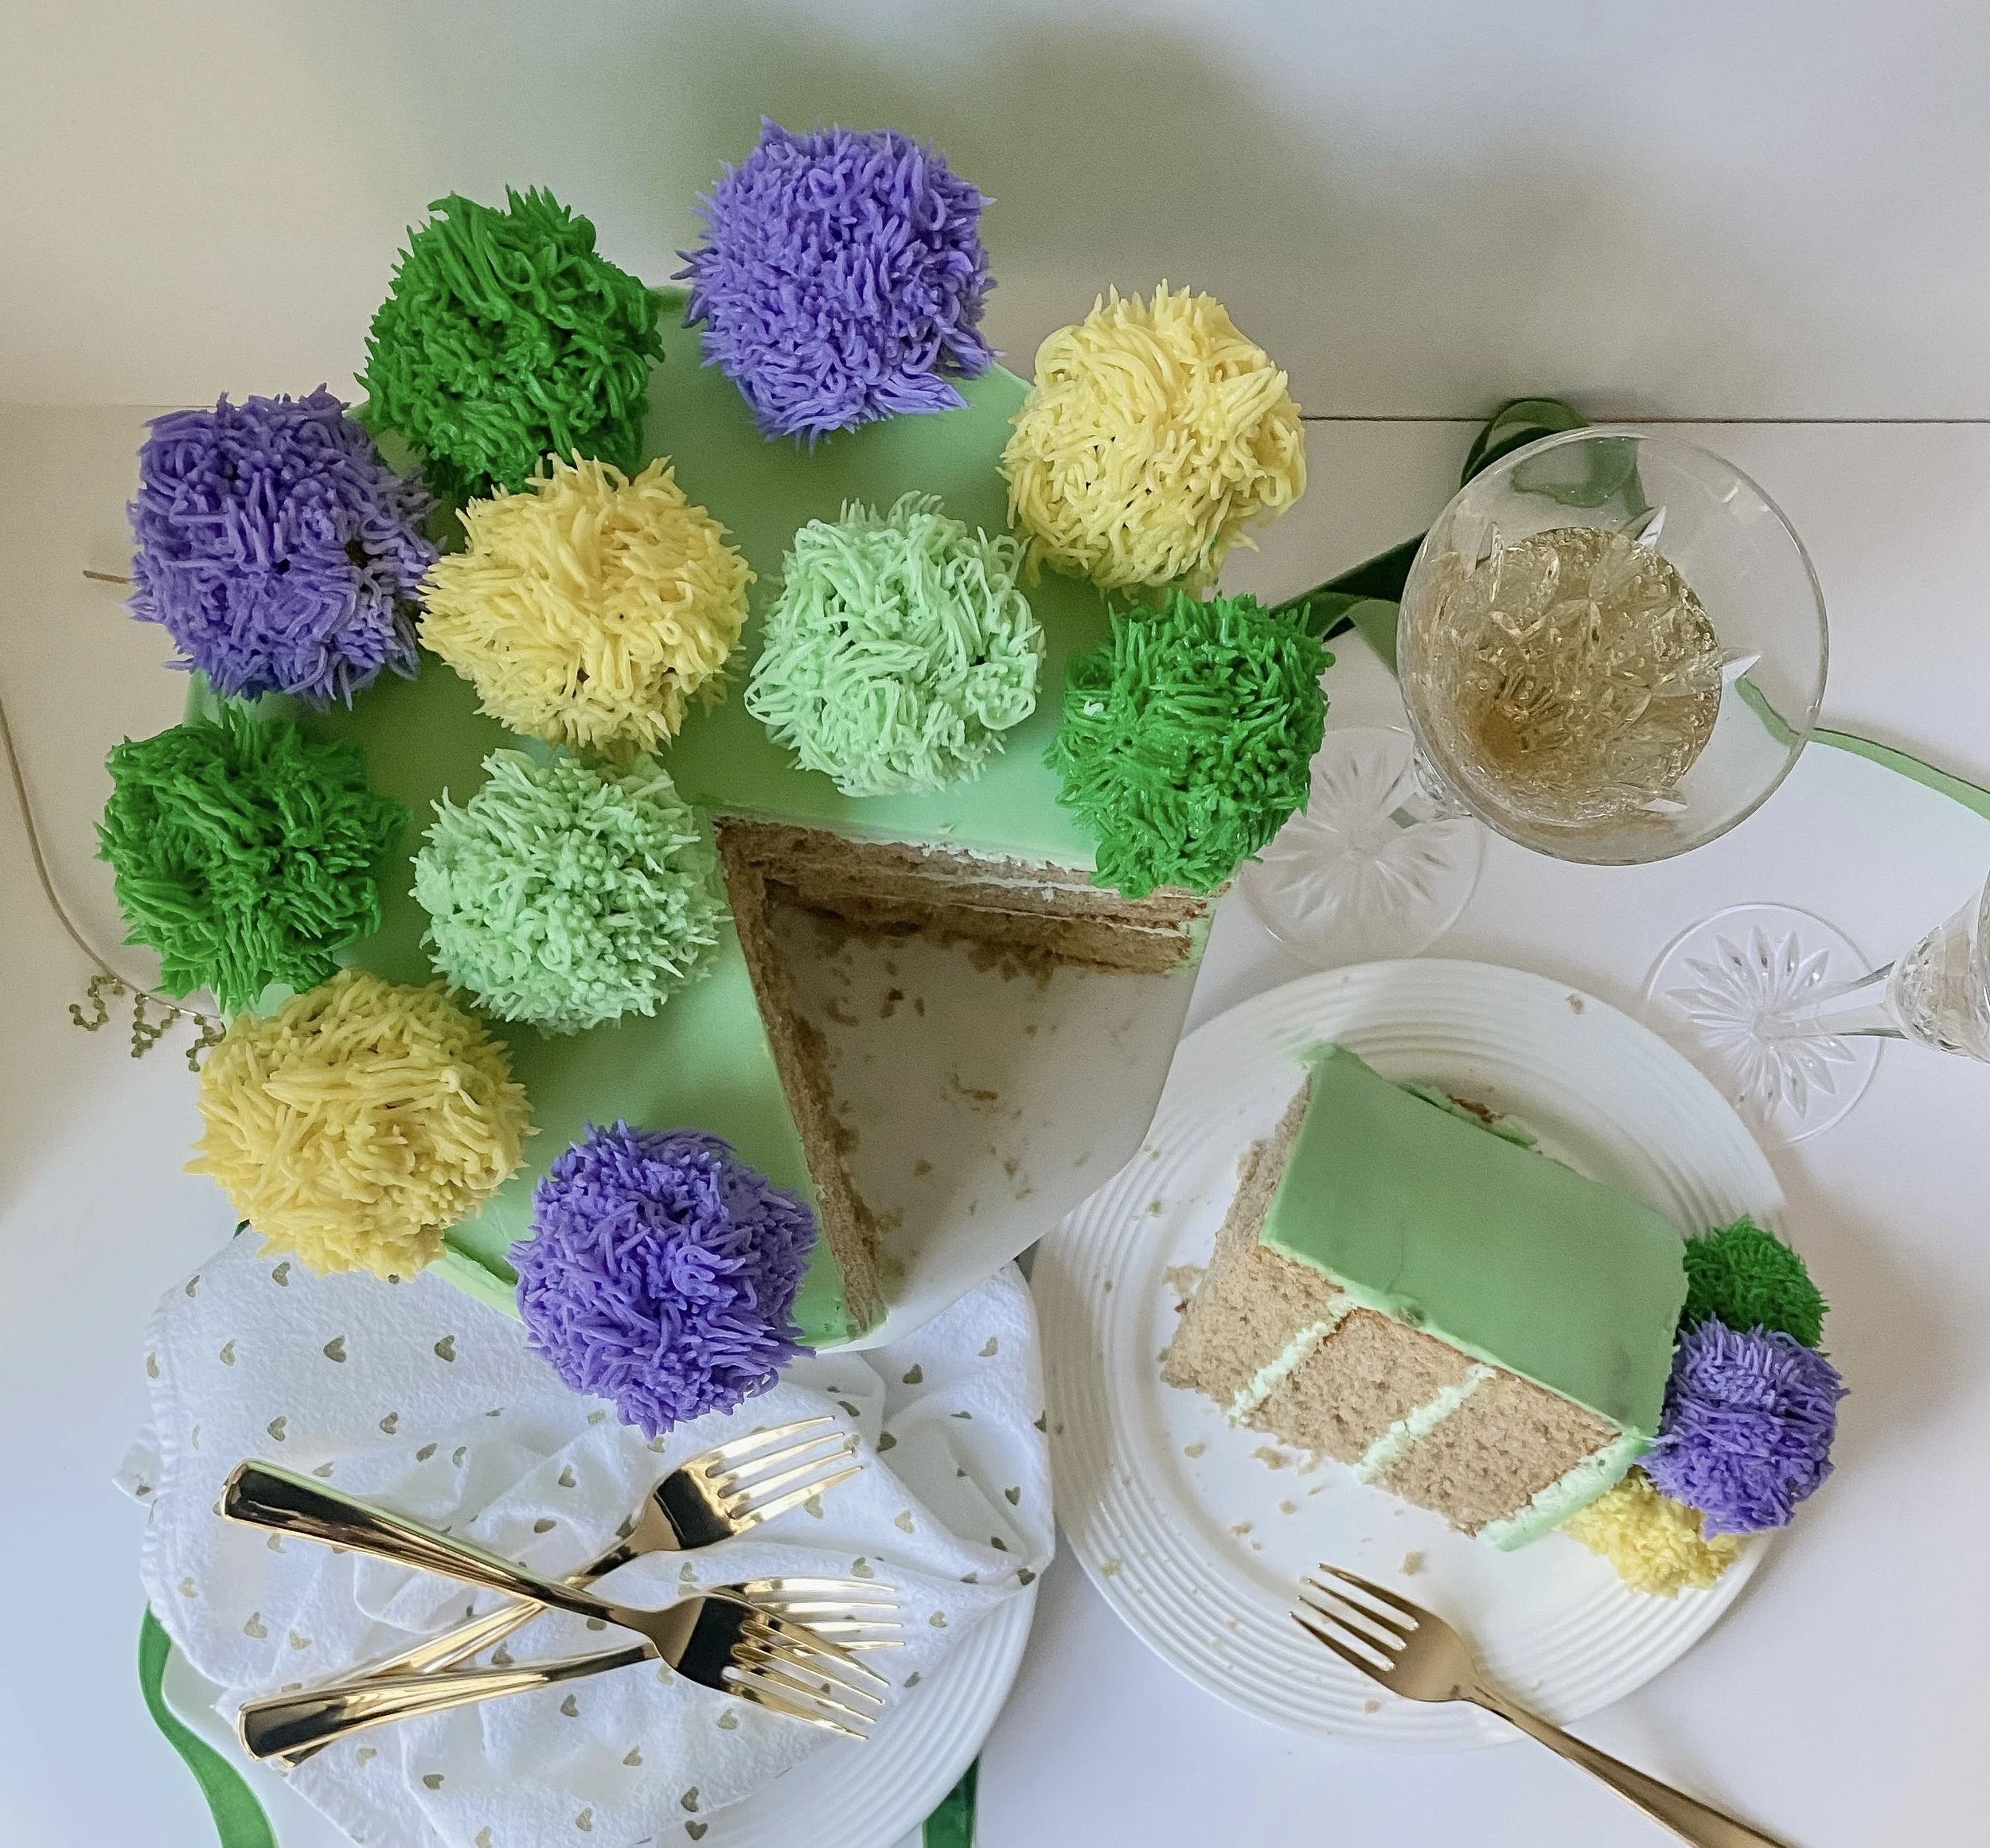
Press a toothpick into the top of each cake bite. Place buttercream frosting in a piping bag fitted with a grass tip. Use the toothpick to hold the cake bite as you pipe the buttercream frosting onto the top half of the cake bite (the top has the toothpick in it). Pipe the remaining frosting onto the cake bite, once you have placed the cake bite onto the desired area in the top of your cake.
Thanks for stopping by. I hope you’ll enjoy this recipe. As always, happy baking and laissez bon temps rouler!!
-XOXO-
Sally
P.S. I love writing/talking about cake. Click here to read one of my previous articles for more tips and tricks on baking and decorating a layer cake!