
How to make DIY Party Headbands for New Year’s Eve or Special Occasions

DIY Party Headbands
Making a DIY party headband is so easy and a lot of fun if you enjoy crafting. I love to wear a festive headband on New Year’s Eve, so I made these headbands just for the occasion. One of my headband designs is colorful, while the other design is shiny and sparkly.
This is a simple craft project using plastic headbands and crafting materials. You’ll need the following supplies to make a DIY party headband:
SUPPLY LIST
Plastic headbands
Zip ties (250mm)
Scissors
Spray paint
Hot glue gun
Hot glue sticks
Colorful pom poms or sparkly decorative balls
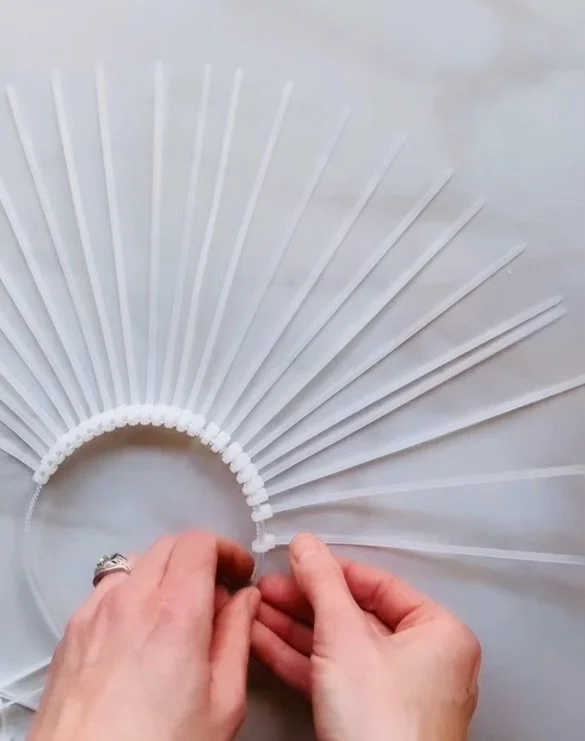
Fasten zip ties to the headband
TO GET STARTED
Fasten zip ties tightly and evenly around the center of a plastic headband. Once the zip ties are attached to the headband. Trim the tops of the zip ties into the shape of a crown.
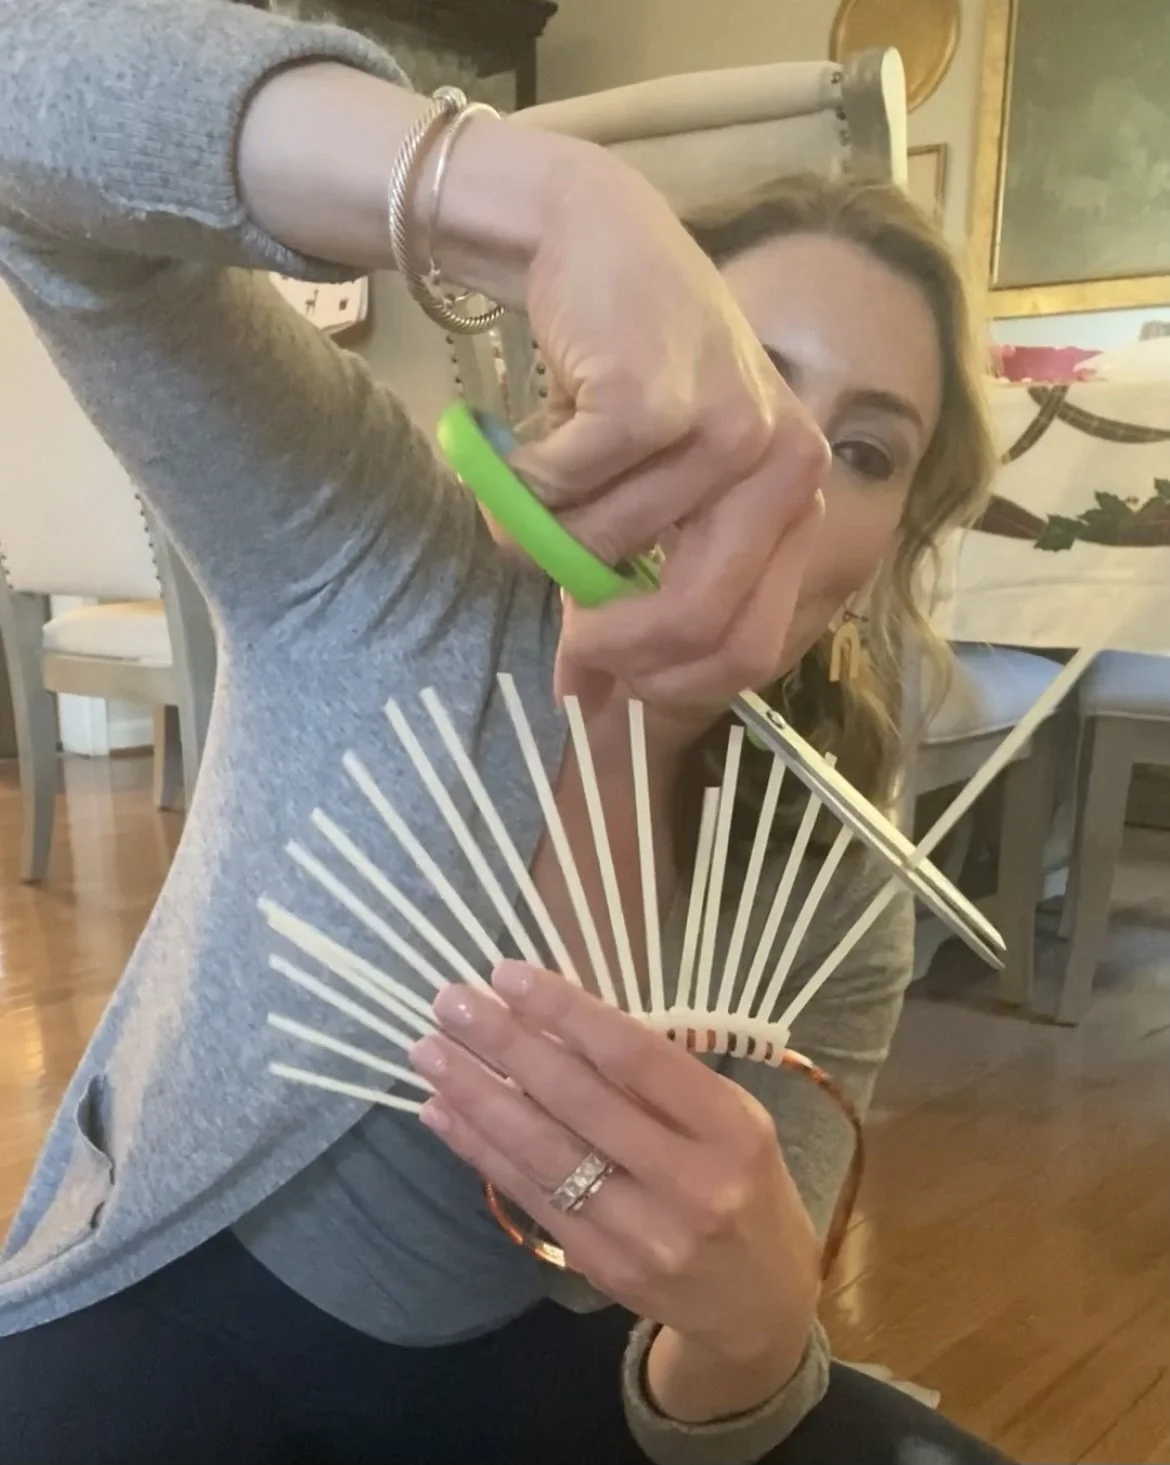
Trimming the zip ties on the headband.
Once the headband is trimmed, head outside to spray paint the headband with a spray paint color of choice. I chose gold spray paint.
Spray the headband evenly all over and allow it to dry for at least 8 hours or up to 24 hours.
I like to spray paint my headband in a large cardboard box (it could also be spray painted on a tarp). Once the headband is spray painted, hang it on the corner of the box to dry completely.
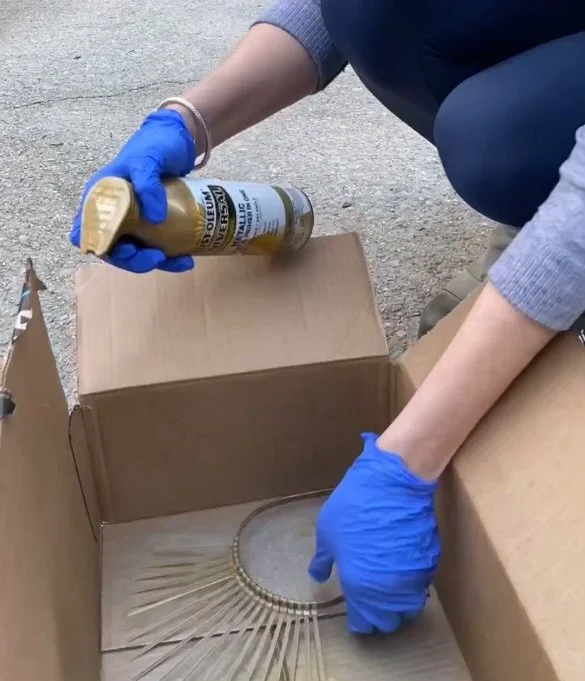
Spray painting the headband.
Note that the headband has to be spray painted before the decorations are glued on, so allow time for the headband to dry completely. While this project can be done in one day, it’s sometimes easier to work from the beginning through the spray paint step and pick up the rest of the project the following day.
NOW THAT THE HEADBAND HAS DRIED COMPLETELY
It’s time to fire up the hot glue gun (I love any excuse to use my hot glue gun). While the hot glue gun is heating up, gather the decorative materials that will be attached to the headband.
Getting ready to decorate the headband.
Place a small amount of hot glue to the back of a decorative ball or pom pom and place the ball or pom pom onto the headband.
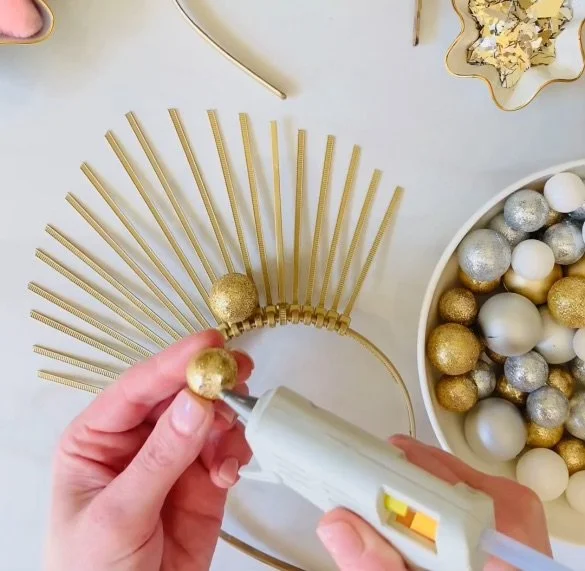
Place a small amount of glue on the back of the decorations before attaching the decoration to the headband.
Repeat this process until the desired headband design is achieved.
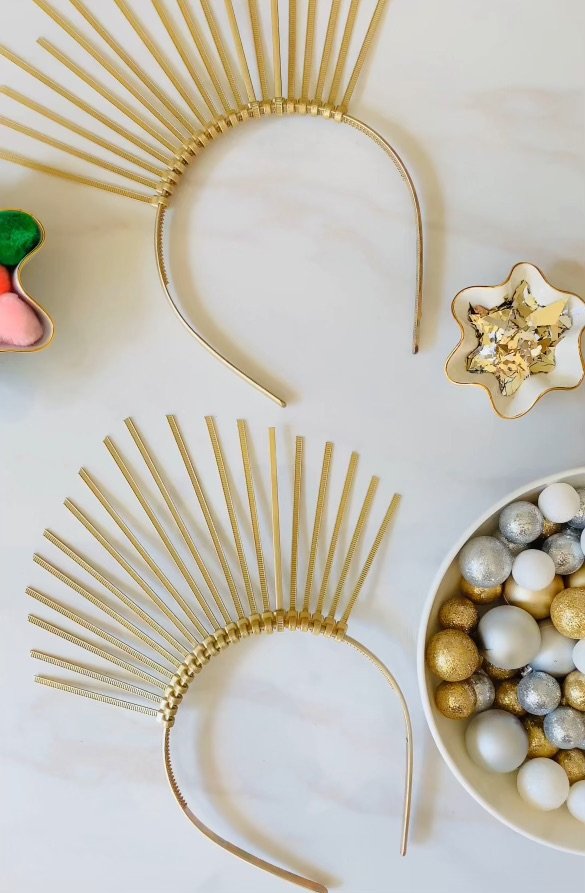
I wanted to create headbands that had a full design, so I used approximately 25 sparkly decorations to achieve this look on my sparkly headband.
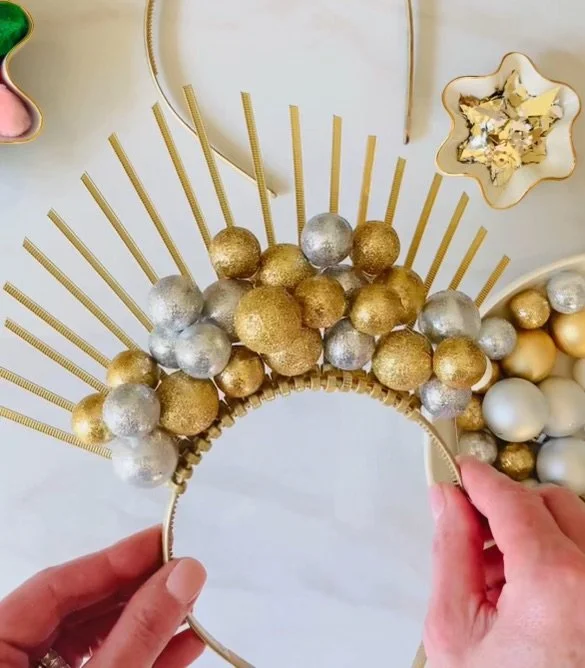
A headband with a very full sparkly design.
I used approximately 30 colorful pom poms to achieve a full look on my colorful headband design.
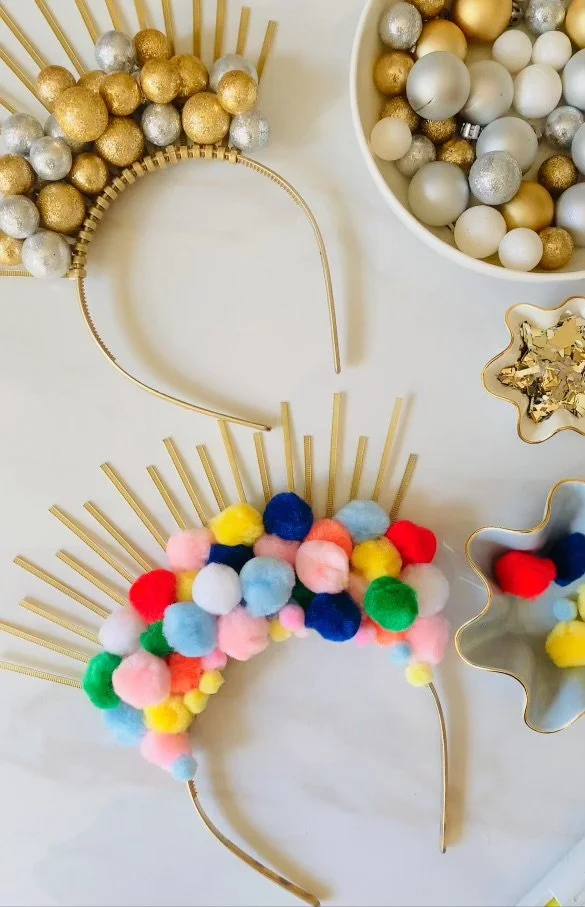
A headband with a full colorful pom pom design.
A simple design is achieved using less decorations per headband. The simple design is a nice look too. When it comes to creating, it’s just a matter of taste and mood!
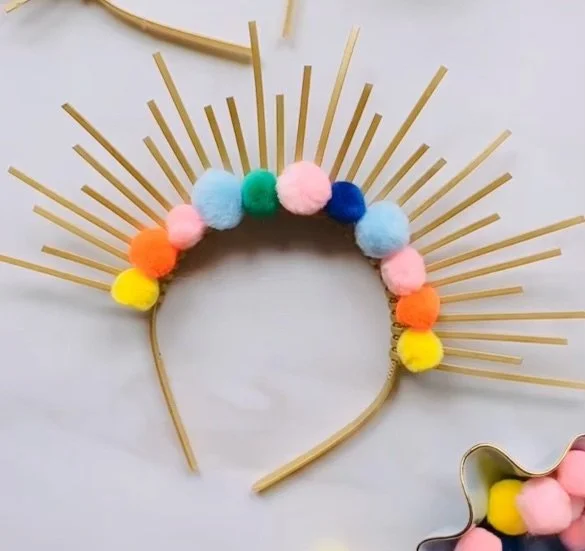
A headband with a simple design.
AND when it comes to celebrating NYE, Mardi Gras, and/or a birthday or bachelorette party, festive headbands are always an excellent addition to your special occasion.
I chose to decorate these headbands with pom poms and glittery decorative balls, but you could really customize your headband with any small embellishments of your choosing. I’ve made beautiful headband with rhinestones for a past NYE celebration,
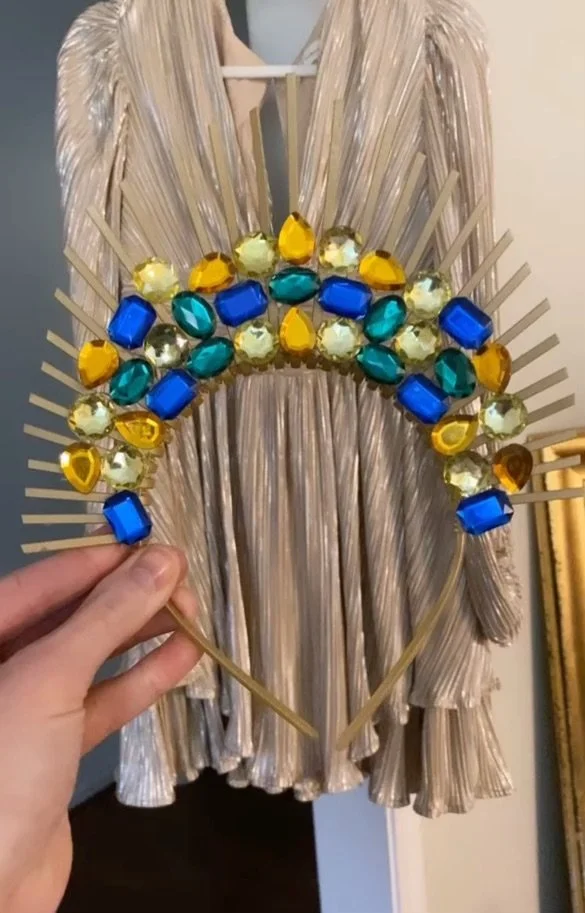
A headband made with rhinestones from a past NYE.
Pom poms, spray paint, and hot glue create the perfect storm for a craft party. If you enjoy crafting you may want to customize a headband for your next special occasion. I hope you’ve enjoyed this tutorial on how to DIY a festive headband.
Happy Crafting and Happy New Year!!
-XOXO-
Sally